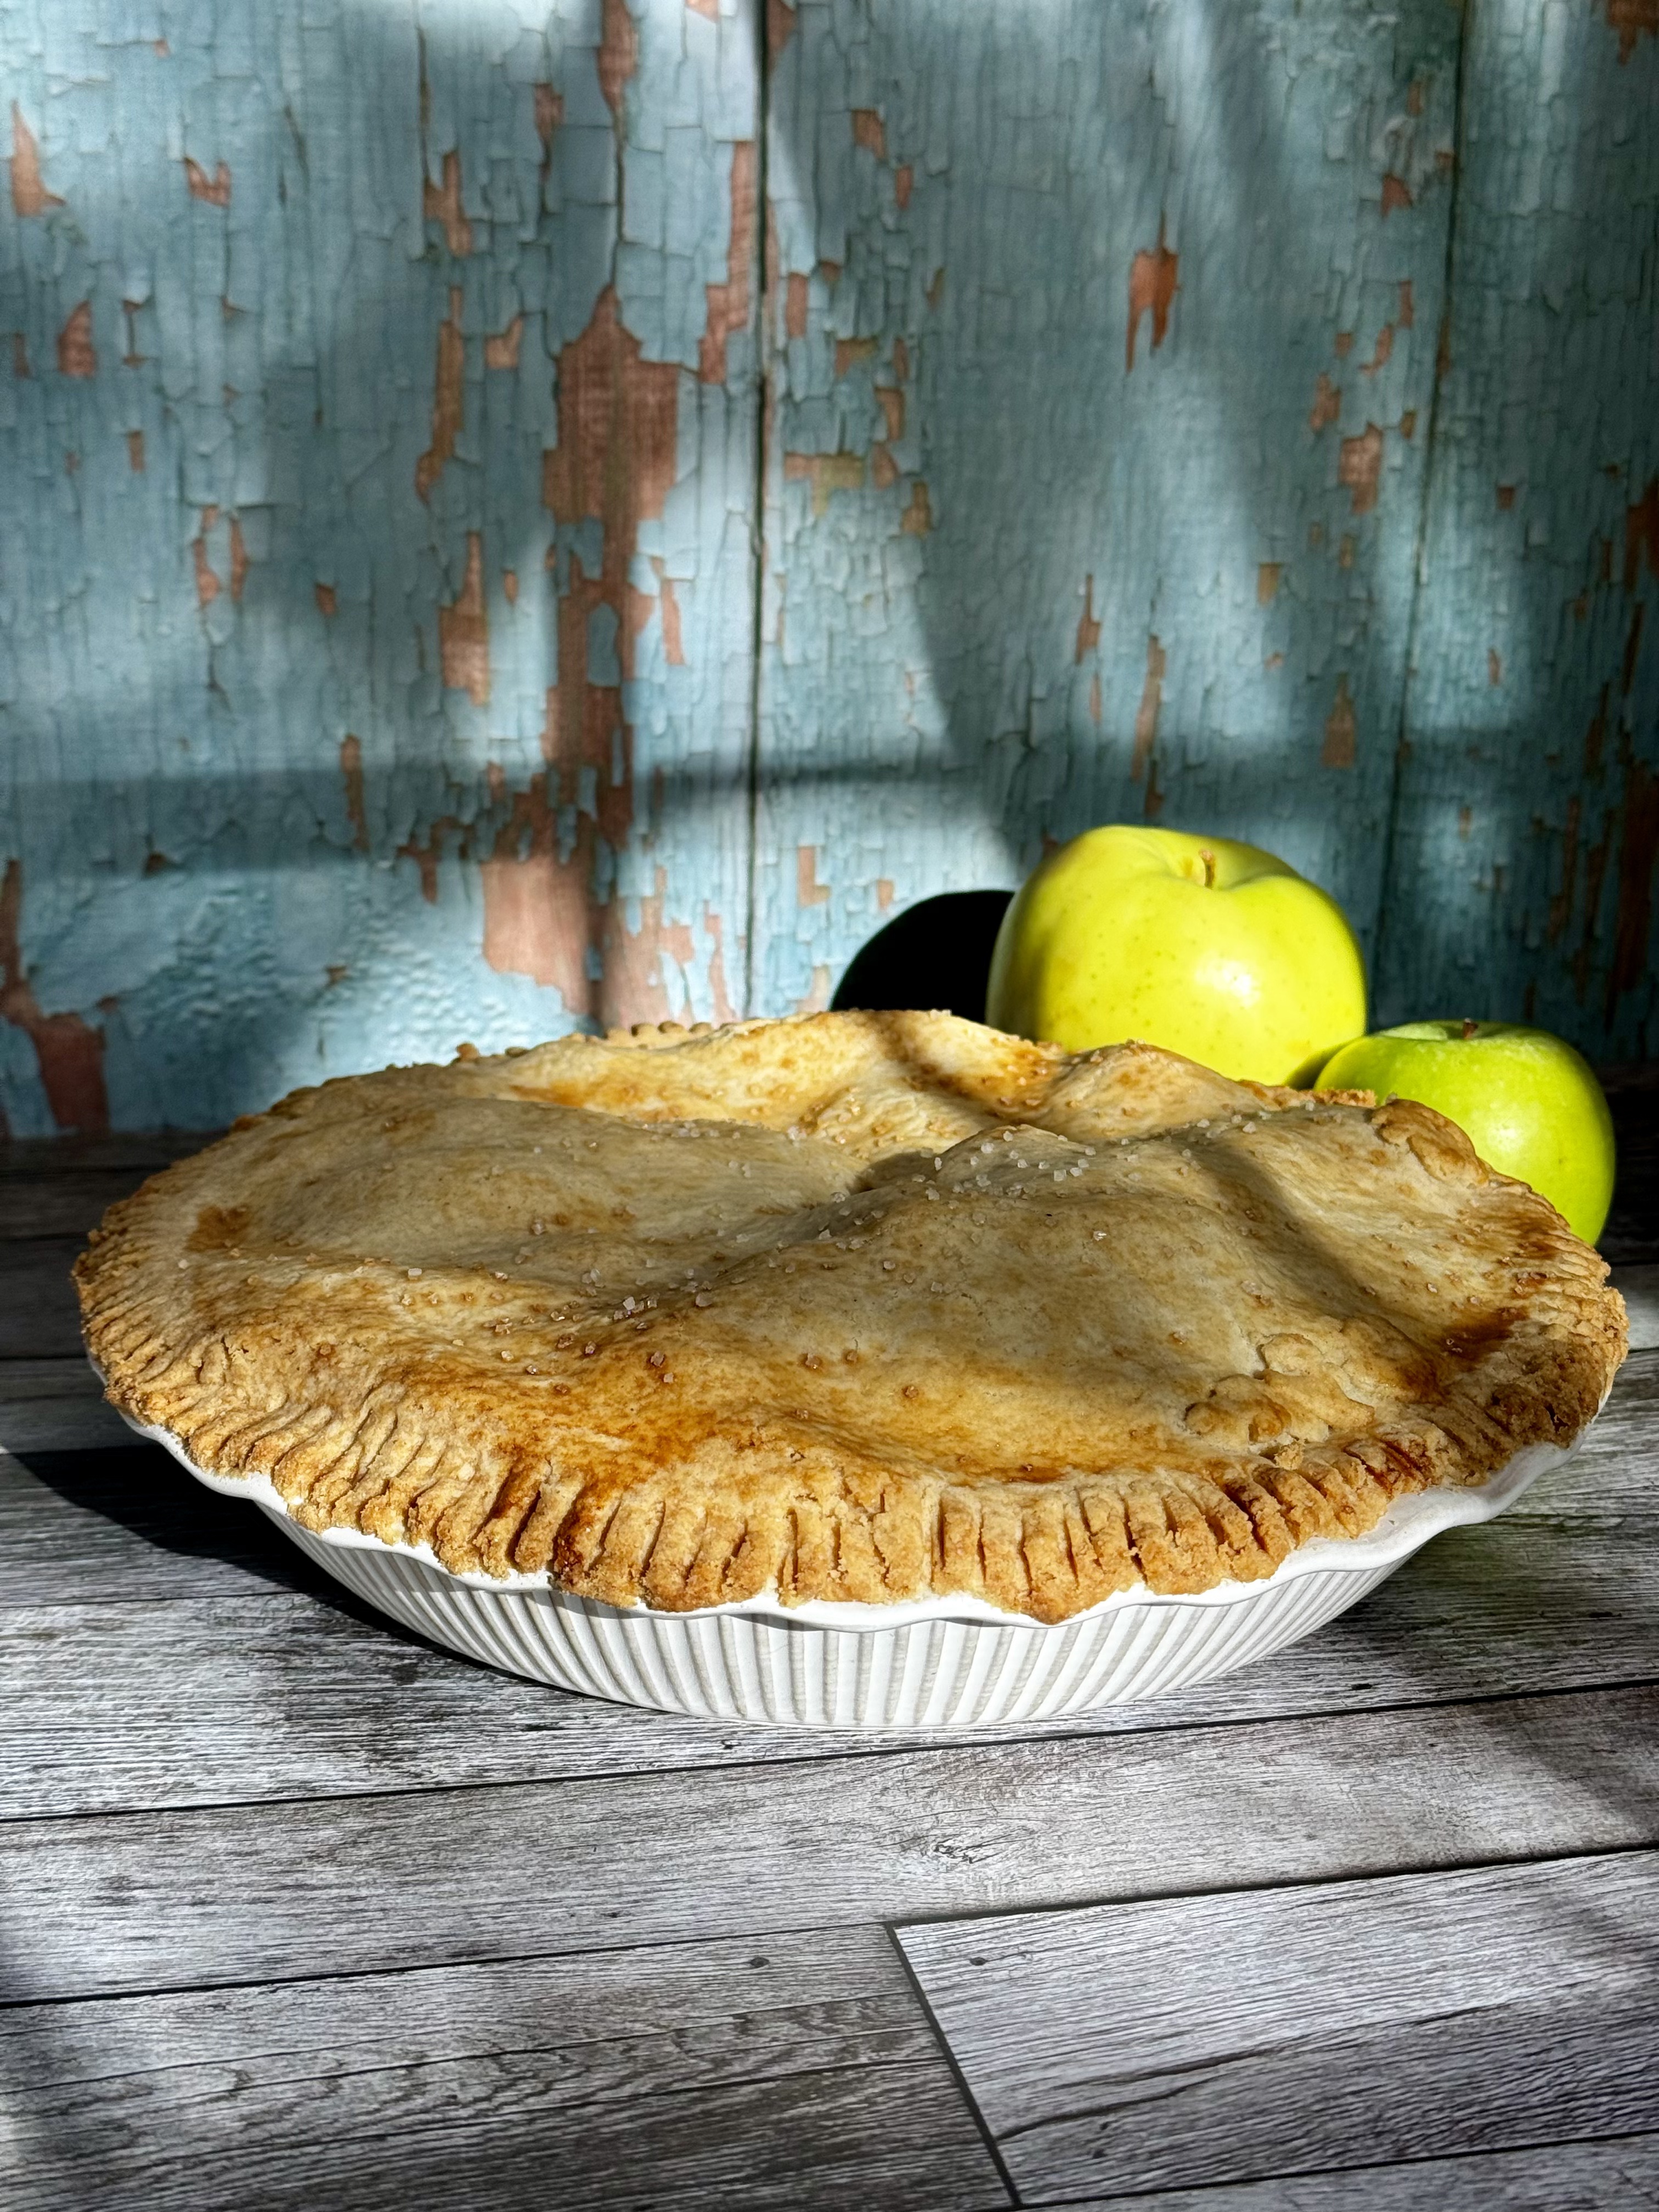
Apple pie is my absolute favorite. For a long time I used a specific recipe but I have changed things up for this recipe. I recommend you use the apple crown royal. If that is not your preference use apple cider or apple juice. Please, please read through this recipe before making. Gluten free pie dough is especially tricky, so if you need extra help, look for my pie dough recipe which has detailed instructions with pictures. Thank you beta testers – i.e. my husband’s coworkers.

Gluten Free Apple Pie
Servings 12
Equipment
- 1 Stand mixer or food processor
- Mixing bowl
- 1 Pie pan regular size, NOT deep dish
- 1 Rolling Pin
- Parchment paper/silicone pastry mat
- 1 pastry brush
Ingredients
Pie filling – for a regular pie pan, NOT deep dish
- 4 large apples, approximately 2 1/4-2 1/2 pounds use a mix of different types of apples, one should be granny smith
- 1/2 cup granulated sugar
- 1/2 cup packed brown sugar
- 1/2 cup plus 2 tbsp finely chopped walnuts
- 3/4 tsp cinnamon
- 2 1/2 tbsp GF flour
- 2 1/2 tbsp apple crown royal may substitute cider or apple juice
1 recipe of Pie dough – YOU WILL MAKE THIS PIE DOUGH TWICE. ONCE FOR BOTTOM AND ONCE FOR TOP
- 1 1/4 cup GF flour
- 2 tbsp granulated sugar
- 1/4 tsp salt
- 1 stick butter, cold
- 3-4 tbsp water
Other ingredients
- flour for dusting pie dough
- half and half for top of pie
- crystal sugar for top of pie
Instructions
Pie Filling
- You will make the pie filling first and then set it to the side to make the pie dough.
- Peel, core and cut 4 apples into slices. Put them in a large mixing bowl.
- Mix sugar, brown sugar, walnuts, cinnamon and flour together in a small mixing bowl. Add this to the apples, along with the crown royal and mix until well incorporated. You may use your hands to mix together if this is easier.
- Set the filling to the side and make the pie dough.
Pie Dough – REMEMBER YOU WILL MAKE THIS TWICE
- Measure the flour, sugar and salt and add to either a food processor or stand mixer.
- Pulse or mix until the dry are mixed together well.
- Take out one stick of butter and cut into approximately 1/4 inch pieces. You want to handle the butter with your hands as little as possible, as your hands will warm up the butter.
- Once you add all the butter, either pulse in the food processor until it creates a course crumb or mix using a paddle to create a course crumb.
- Once you do this add 3 tbsp cold water and pulse or mix. It should start to come together within 30 seconds. If this is not enough, add water 1 tsp at a time. It will just come together. Try to have the extra water over to the side so you can add quickly. You don’t want to over mix so mix until still slightly crumbly but able to hold together in a dough ball. I recommend, taking a little of the dough and see if you can make it into a ball. If you can then it is ready.
- Take the dough, make it into a disc, wrap it in plastic wrap and put in the refrigerator for 10-15 minutes. You want the dough cold but still pliable when you take it out.
- While the first pie dough is resting, make the second pie dough. You do not need to wash out the mixing bowl/food processor before making the second dough. Repeat instructions on making pie dough from above.
- Once finished with the second pie dough place it in the refrigerator as well.
Assembly
- If 15 minutes have elapsed since the first pie dough went into the refrigerator, take it out and roll out it out on either a piece of parchment paper or a silicone pastry mat. You want it approximately 12 inches in diameter. Make sure to keep the dough well floured. It is recommended that you do not turn the dough while rolling it out. You will not flour the underside of the dough once you start rolling.
- Take the parchment paper or silicone mat, and put it upside down over the pie pan. Make sure you are centered over the pie pan. You are going to slowly peel the parchment paper or silicone mat off the pie dough. If centered properly the pie dough should fit in the pie pan without you having to maneuver it. If you break the bottom pie dough, you can patch, just make sure to patch well. If you have extra pie dough, keep it.
- Add the apples to the pie pan, and arrange it so that it is slightly mounded. Make sure there are no apples poking up.
- Roll out the second pie dough to put on top. Follow the same method as the bottom. When you turn it over be very careful to get it as centered on the apples as possible. Once you get it on, you are going to use a fork around the crust to seal the top to the bottom.
- If you happen to break the top crust, use scraps from the bottom and the top to create leaves, flowers, or even just use a cookie cutter with an appropriate design to cover the cracked area, lightly pressing down. Cut a vent hole in the middle of the pie dough.
- Put the pie in the freezer for 30 minutes.
- While the pie is in the freezer, preheat the oven to 400 degrees and put a baking sheet on the rack below the rack you are using to bake the pie.
- When the pie has been in the freezer for 30 minutes, take it out, brush it with half and half, and sprinkle it with crystal sugar.
- Bake at 400 degrees for 15 minutes, then turn the oven to 350 and bake for another 45 minutes to an hour until the apples are soft. To test the softness of the apples, stick a toothpick or a butter knife in the vent hole. It should be soft, or at least have give. It will depend on whether you like the apples soft or with a slightly less done.
- Take out of the oven once done and allow to cool to room temperature before serving.
Notes
If you need further guidance on making the pie dough, please see the pie dough recipe that is on this site under Gluten Free Pie Dough
Leave a Reply